
If you’ve been dreaming of bouncy and defined curls, this is the perfect tool for you. In this article, we will provide you with step-by-step instructions, expert tips, and all the information you need to master the art of curling your hair with a curl sponge.
Understanding the Curl Sponge
What is a Curl Sponge?
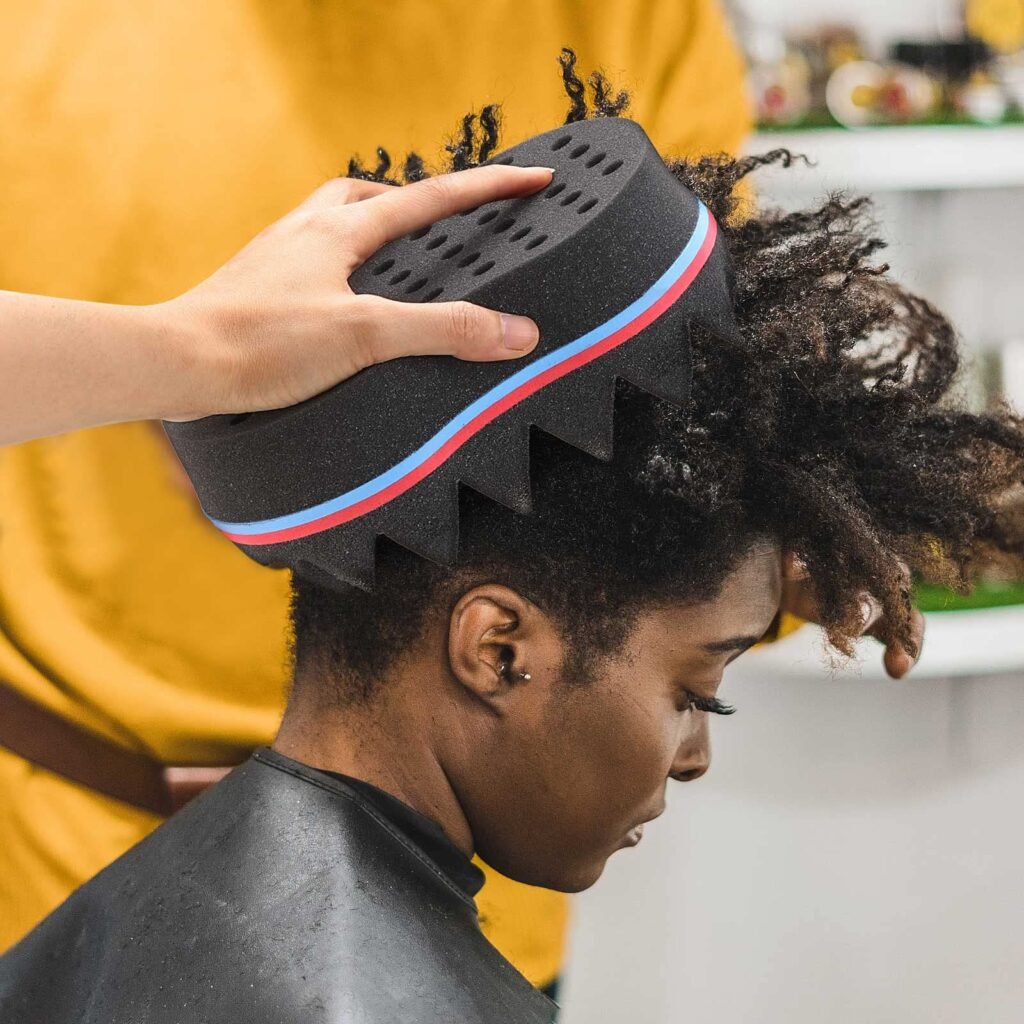
A curl sponge, also known as a twist sponge or magic sponge, is a game-changing tool designed to create beautiful curls with ease. Its unique design features small holes that allow you to twist your hair, resulting in defined and uniform curls.
Why Choose a Curl Sponge for Straight Hair?
Using a curl sponge on straight hair offers several advantages. First and foremost, it provides a heat-free and chemical-free method to achieve curls, minimizing potential damage to your hair. Additionally, the curl sponge is versatile and suitable for various hair lengths and textures, allowing you to experiment with different curl patterns and styles.
How to Use a Curl Sponge on Straight Hair

Not sure how to use a Curl Sponge on Straight Hair? Check out these steps to get all the tips and tricks on using your natural hair.
- Prepare Your Hair: Before using the curl sponge, it’s essential to start with clean, dry hair. Shampoo and condition your hair using products suitable for your hair type. Gently towel-dry your hair to remove excess moisture.
- Apply a Styling Product: To enhance the curling process and ensure long-lasting results, apply a curl-enhancing product to your hair. This can be a lightweight mousse, curl cream, or styling gel. Work the product through your hair, distributing it evenly from roots to ends.
- Section Your Hair: Divide your hair into sections using clips or hair ties. This will make it easier to work with and ensure that each section receives equal attention. Smaller sections will create tighter curls, while larger sections will result in looser curls.
- Twist with the Curl Sponge: Take the curl sponge and position it against your scalp, starting at the roots of the first section. Using circular motions, twist the sponge downward along the hair shaft. Apply gentle pressure as you twist to encourage the formation of well-defined curls. Continue this process for each section of your hair.
- Refine and Define: Once you’ve twisted your hair with the curl sponge, take a moment to refine and define your curls. Use your fingers to separate and adjust individual curls, ensuring they fall naturally and create the desired shape. This step allows you to customize your curls and achieve a more polished look.
- Set Your Curls: To ensure that your curls last longer, set them in place using a lightweight hairspray or curl-defining product. Apply the product sparingly, scrunching it into your curls for optimal hold. Allow your hair to air dry or use a diffuser attachment on low heat to speed up the drying process.
Tips for Maintaining Your Curly Hairstyle
Now that you’ve mastered the art of using a curl sponge on straight hair, let’s explore some tips to help you maintain and prolong your gorgeous curls:
- Moisturize Regularly: Curly hair tends to be drier than straight hair, so it’s important to keep it hydrated. Use a moisturizing conditioner and consider incorporating a deep conditioning treatment into your hair care routine.
- Avoid Excessive Heat Styling: Excessive heat can damage your hair and cause your curls to lose their shape. Whenever possible, embrace natural drying methods and limit the use of heat styling tools.
- Protect Your Curls While Sleeping: To preserve your curls overnight, invest in a silk or satin pillowcase to minimize friction. You can also pineapple your hair by loosely gathering it on top of your head and securing it with a scrunchie or silk scarf.
- Refresh Your Curls: On days when your curls need a little boost, spritz them with a mixture of water and leave-in conditioner. Gently scrunch your hair to revive the curls and reactivate the product.
- Schedule Regular Trims: To prevent split ends and maintain healthy-looking curls, make sure to trim your hair regularly. Trimming every 8-12 weeks will help keep your curls in top shape.
Conclusion
Congratulations! You’ve discovered the secrets of using a curl sponge on straight hair to achieve flawless curls. By following our step-by-step guide and implementing the tips provided, you’ll be able to embrace your natural beauty and rock stunning curls effortlessly.
Remember, practice makes perfect. Don’t be discouraged if you don’t achieve your desired results on your first attempt. Experiment with different techniques, adjust the amount of product used, and find what works best for your hair type and desired curl pattern. With time and patience, you’ll become a curl sponge pro, creating fabulous curls that turn heads wherever you go.
So go ahead, unleash the power of the curl sponge, and embrace your beautiful, bouncy curls with confidence!
Leave a Reply